

Start date: 9 January 2023
Final commits: 17 January 2023
Live link: https://michbotx.github.io/to-do-app/
Github link: https://github.com/michbotx/to-do-app
Challenge: To create a todo app (challenge by Frontend Mentor) where users are able to:
View the optimal layout for the app depending on their device's screen size
See hover states for all interactive elements on the page
Add new todos to the list
Mark todos as complete
Delete todos from the list
Filter by all/active/complete todos
Clear all completed todos
Toggle light and dark mode
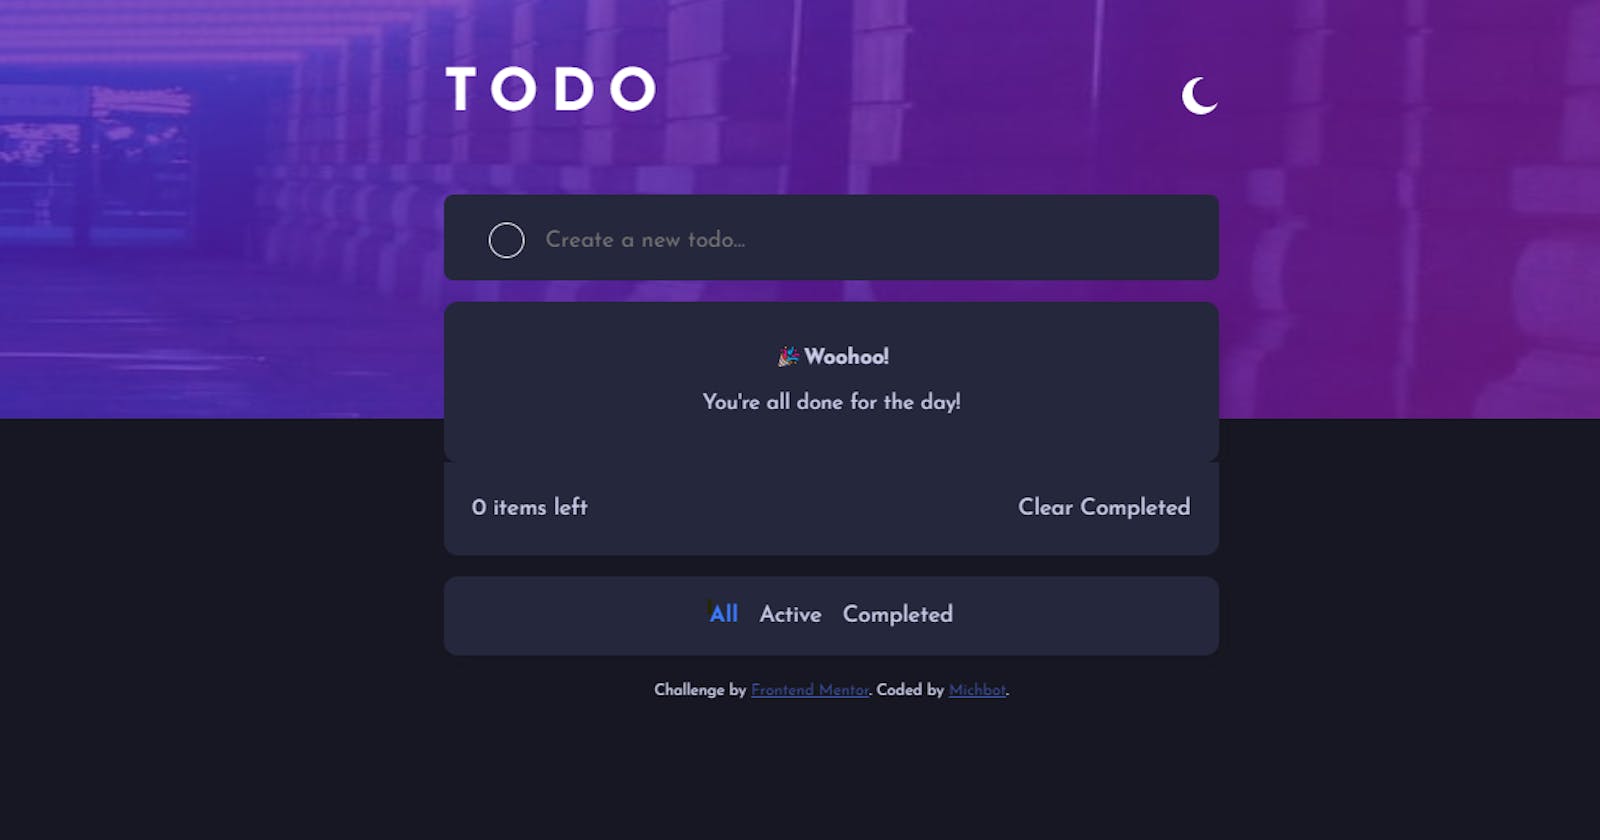
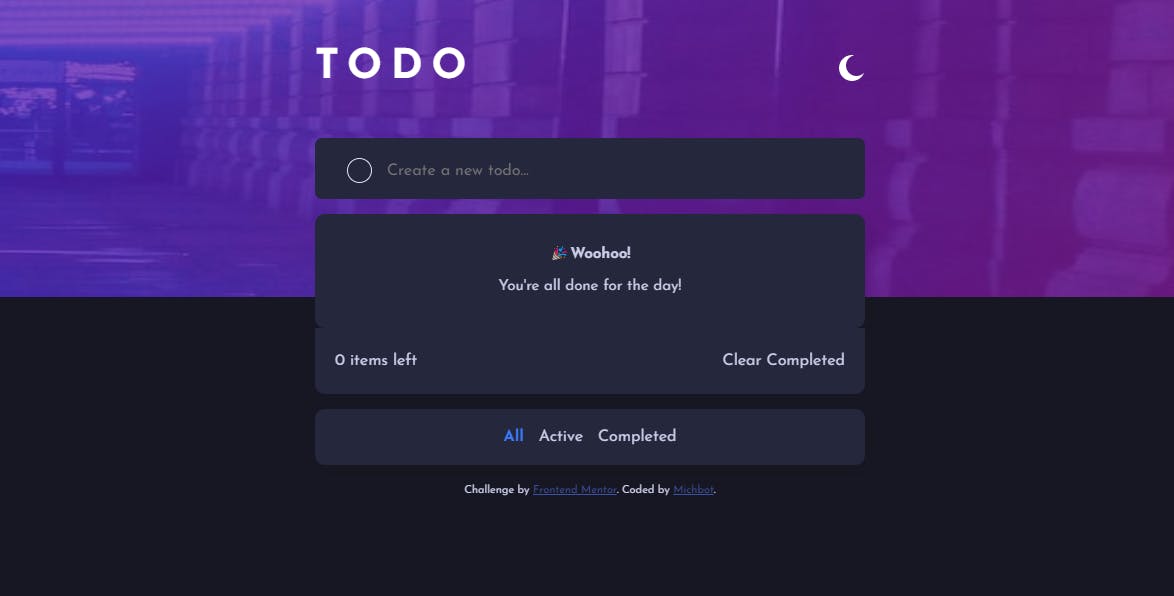
Final Look (Dark Mode):
Key learnings
Creating a toggle mode function:
Set mydefault light theme properties in the :root pseudo-element.
Create a [data-theme=”dark”] variable and store the properties for my dark theme.
in app.js, I created a currentTheme variable and pulled the current theme settings from the localStorage (this makes sure that we remember what the user’s previous settings were). This was then stored as the current theme (if no theme, default to white)
Created a darkMode() function that would set the the body’s “data-theme” attribute to dark or white depending on the toggle button click.
I used localStorage.setItem() to store the current theme for the next time our users return.
Created an event listener for the toggle switch to set the theme when clicked.
//CSS

:root {
    --bg-color: hsl(0, 0%, 98%);
    --body-text: hsl(235, 19%, 35%);
    --div-bg: hsl(0, 0%, 100%);
    --shadow: rgba(211, 211, 211, 0.219);
    --div-border: hsl(233, 11%, 84%);
}

[data-theme="dark"] {
    --div-bg: hsl(235, 24%, 19%);
    --bg-color: hsl(235, 21%, 11%);
    --body-text: hsl(234, 39%, 85%);
    --shadow: rgba(12, 11, 11, 0.083);
    --div-border: hsl(237, 14%, 26%);
    --bg-mobile:  url("images/bg-mobile-dark.jpg");
    --bg-desktop: url("images/bg-desktop-dark.jpg");
}

//JAVASCRIPT

function setTheme() {
    darkMode()
    setHeaderImg()
}

//change header image attribute when toggled
function setHeaderImg() {
    if (body.getAttribute("data-theme") === "dark") {
        headerImg.setAttribute("src", "images/bg-mobile-dark.jpg")
    } else {
        headerImg.setAttribute("src", "images/bg-mobile-light.jpg")
    }
}
// set theme attribute when toggled
function darkMode() {
    body.setAttribute('data-theme', (body.getAttribute('data-theme') === 'dark') ? 'light' : 'dark');
    themeIcon.setAttribute("src", (themeIcon.getAttribute("src") === "images/icon-moon.svg")
    ? "images/icon-sun.svg"
    : "images/icon-moon.svg"
    );
    localStorage.setItem('theme', body.getAttribute('data-theme'));
}

toggleSwitch.addEventListener("click",setTheme)
Handling user input
In the HTML, I created a new div that would store the check button, and the user input
Created an array to store task inputs (to be used later to handle tasks)
added an event listener to listen for a change in the text input. if there is a value entered, i would run the createToDo() function.
createToDo() function:
check if input has a value, if not, return an alert.
otherwise, create a new “li” element in the task list.
Add the class style to the li and set the innerHTML with a button, the text, and a remove button
Append todo as a child to the task list
Reset the input value to “ “
bind remove and complete functions to the remove and done buttons
if there are no tasks, display “notasknote”
Update task count
and add a drop and drug function on the todo
Add todo to tasks array
<section class="todo-container">
      <div id="newTask">
        <button class="checkBtn">
          <img
            id="checkIcon"
            src="images/icon-check.svg"
            alt="check-icon">
        </button>
        <input
          type="text"
          class="todo-text"
          placeholder="Create a new todo..."
          value="">
      </div>
    </section>
const list = document.querySelector(".list")
const toDoText = document.querySelector(".todo-text")
let doneBtns = document.querySelectorAll(".checkBtn")
const noTasksLeft = document.querySelector("#noTasksLeft")
const remove = document.querySelectorAll(".remove")

let tasks = [];
let completedTasks = [];

toDoText.addEventListener("change", createToDo)

//CREATE TODO
function createToDo(e) {
    let toDoVal = e.target.value
    if (toDoVal == null || toDoVal == " ") {
        alert("Please enter a task")
    } else {
        const toDo = document.createElement("li")
        toDo.classList.add("task")
        toDo.innerHTML += `
                <button class="checkBtn">
                    <img
                    id="checkIcon"
                    src="images/icon-check.svg"
                    alt="check-icon"/>
                </button>
                <span class="toDoText break-word">${toDoVal}</span>
                <img alt="remove" class="remove" src="images/icon-cross.svg">
                `
        list.appendChild(toDo)
        e.target.value = ""
        tasks.push(toDo)

        bindRemove(toDo.querySelector(".remove"))
        bindDone(toDo.querySelector(".checkBtn"))
        noTasksNote();
        updateTaskCount();
        addDragandDrop(toDo);

    }
}
Handle remove and complete functions()
listen for the button that was clicked and run a function for “remove” and “completed
For the remove, we want to select the parent element of the remove button (the task li) and also remove it from our tasks array.
Update task count and if there are no tasks left, we want to display noTasksLeft();
For the done button, we want to select the main parent of the done button, and if it is checked, we want to toggle the check class style.
We also want toggle the completed class to striek through the text
Then we want to check if the element contains the completed class, if yes we want to push it to our completedTasks array, if not, we want to remove it from the array.
const bindRemove = (btn) => {
    btn.addEventListener("click", () => {
        const mainPar = btn.parentElement
        mainPar.remove()
        tasks.pop(mainPar)
        completedTasks.pop(mainPar)
        noTasksNote()
        updateTaskCount();
    })
}

const bindDone = (btn) => {
    const checkIcon = btn.querySelector("#checkIcon")
    btn.addEventListener("click", () => {
        const mainPar = btn.parentElement
        btn.classList.toggle("checked")
        checkIcon.style.display = "block"
        mainPar.classList.toggle("completed")
        mainPar.classList.contains("completed")
        ? completedTasks.push(mainPar)
        : completedTasks.pop(mainPar)
        updateTaskCount();
    })
}

remove.forEach(bindRemove)
doneBtns.forEach(bindDone)
Handle completed tasks
- Listen for the click on the “clear completed” text and run through the tasks array to see which task contains the “Completed” class. IF it does:
remove the task from the list UI and remove it from the array
Add it to the completed tasks array
Update task count, if no more tasks, display tasknote.
const clearComplete = document.querySelector("#clr-completed")

clearComplete.addEventListener("click", () => {
    const allTasks = document.querySelectorAll(".task")
    for (let task of allTasks) {
        if (task.classList.contains("completed")) {
            task.remove()
            tasks.pop(task);
            completedTasks.pop(task)
            updateTaskCount();
        }
    }})

//---- HANDLE ITEMS LEFT-----//

const itemsLeft = document.querySelector("#items-left")

const updateTaskCount = () => {
    let activeTasks = tasks.length - completedTasks.length
    itemsLeft.textContent = `${activeTasks} items left`

    noTasksLeft.style.display = tasks.length === 0
    ? "block"
    : "none"
}
Handle Filtering Tasks
Updating the styling of the category when its active by iterating through the category classes, and seeing if the id matches the event that it was fired on.
If the target id matches the correct element, we want to update the class style and add an active class to the element.
To show the tasks under the correct category, I created a forEach loop that would change the display style on the tasks depending on the class that it contained:
const category = document.querySelectorAll(".category")

for (let cat of category ){
    cat.addEventListener("click", (e) => {
        let attr = e.target.id
        if (attr === cat.id) {
            updateUI();
            cat.classList.add("active")
            showCat(attr);
        }
    })
}

function updateUI() {
    category.forEach((cat) => cat.classList.remove("active"))
}

function showCat(attr) {
    tasks.forEach((task) => {
        if (attr === "all") {
            task.style.display = "flex"
        } else if (attr === "active") {
            task.classList.contains("completed")
            ? task.style.display = "none"
            : task.style.display = "flex"
        } else if (attr === "completed") {
            task.classList.contains("completed")
            ? task.style.display = "flex"
            : task.style.display = "none"
        }
    })
}
Handle Drag and Drop
Set a “draggable” property in css and if the task is clicked, then we want to set the draggable property to true.
Then i created a “drop”, “dragstart’, “dragenter” and “dragover” function to facilitate the moving action on the browser.
[draggable="true"] {
    user-select: none;
    -moz-user-select: none;
    -webkit-user-select: none;
    -ms-user-select: none;
  }
let items = document.querySelectorAll(".list > li")

function addDragandDrop(task) {
    task.setAttribute("draggable", true)
    task.addEventListener('dragstart', dragStart)
    task.addEventListener('drop', dropped)
    task.addEventListener('dragenter', cancelDefault)
    task.addEventListener('dragover', cancelDefault)
}

list.addEventListener("drop", (e) => {
    if(e.target.classList.contains("task")){
        cancelDefault(e);
        let oldIndex = e.dataTransfer.getData('text/plain');
        let target = e.target;
        let newIndex = Array.prototype.indexOf.call(target.parentNode.childNodes, target);

        let parent = e.target.parentNode;
        let children = parent.children;
        let dropped = children[oldIndex];
        parent.removeChild(dropped);
        tasks.splice(oldIndex, 1);
        tasks.splice(newIndex, 0, dropped);

        if (newIndex < oldIndex) {
            parent.insertBefore(dropped, target);
        } else {
            parent.insertBefore(dropped, target.nextSibling);
        }
    }
});

list.addEventListener("dragenter", cancelDefault);
list.addEventListener("dragover", cancelDefault);

items.forEach(item=>{addDragandDrop(item)})

function dragStart (e) {
let index = tasks.indexOf(e.target)
    e.dataTransfer.setData('text/plain', index)
}
function dropped (e) {

}

function cancelDefault (e) {
    e.preventDefault()
    e.stopPropagation()
    return false
}
Further development:
I'd say the most uncomfortable part of my code was the drag and drop function. I'm not entirely sure the code makes sense to me as I had been researching on google and had come across a few different solutions. This one seemed to work best for me.
From here, I'm moving on to Async functions in my course and will endeavour on a new project starting 21 January!
x Mich